Reference 01:
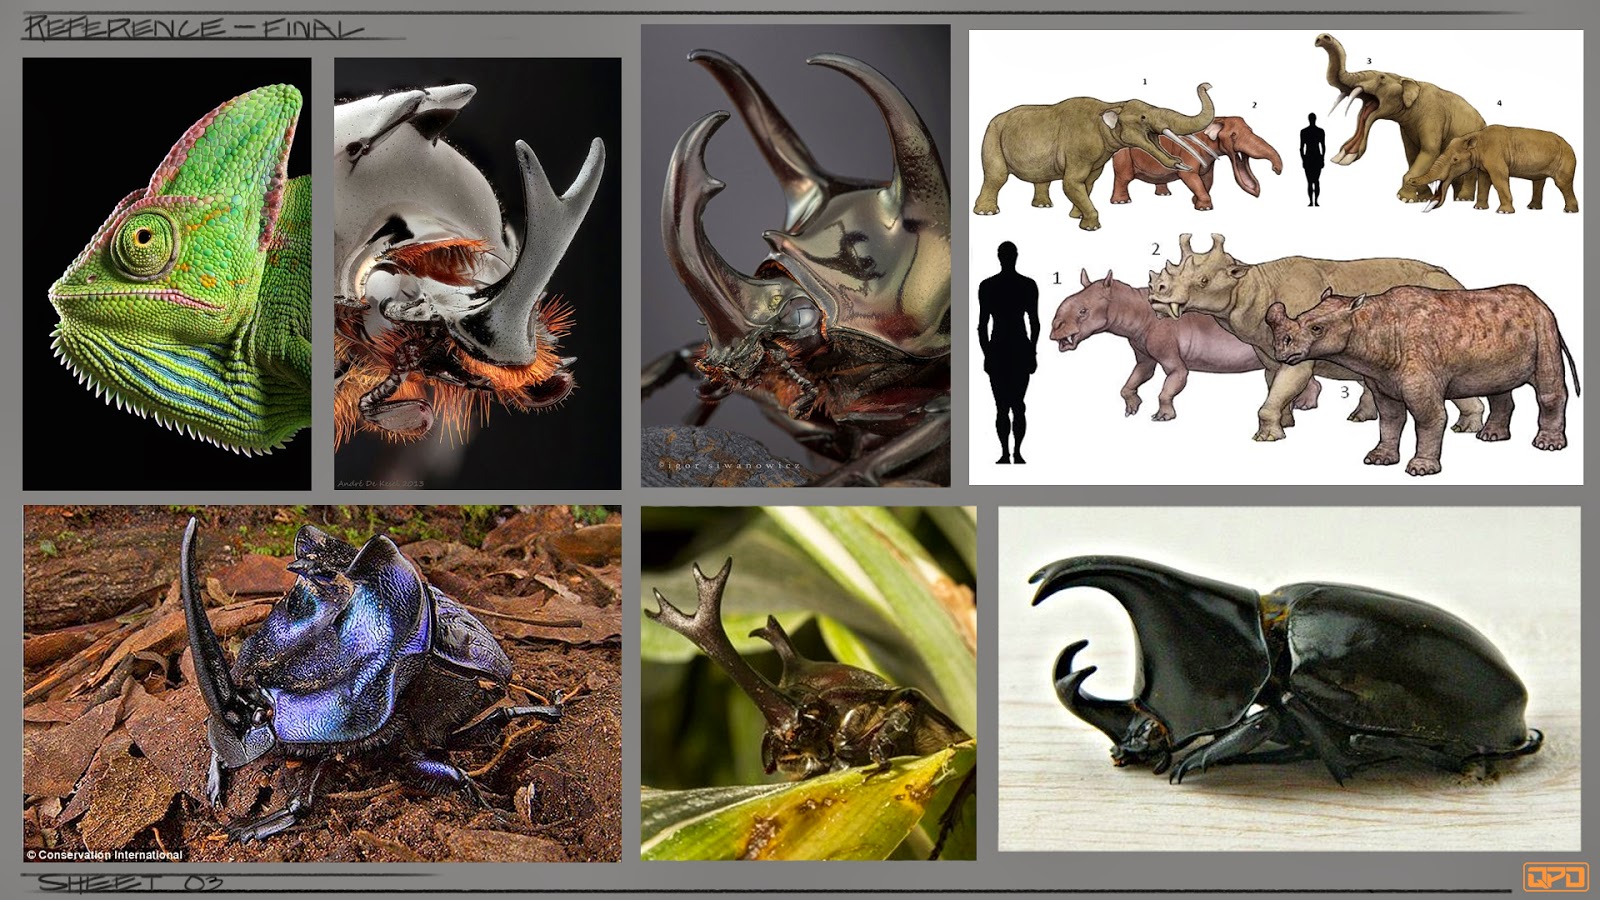
As always I start my design process by gathering and putting together as much useful reference material as I can. I knew for the creature that I wanted it to have some insect-like features. However, I really wanted to challenge myself so I looked at crustaceans, reptiles, and some bovine-esque mammals.
I eventually found that I was focusing too much on insects and started more of the previously mentioned animals. For me it's the subtle details, like the way the animals carapace forms and the overall forms that get my creative juices going. I found that there were a lot of interesting color choices to make as well.
Reference 03:
I feel like this final reference board really summarizes the sculpt overall. As you'll see in the final sculpt, these three types of animals were my biggest influences.
Final Beauty Render:
The final render came out excitingly well! Previously, I was only experimenting when it came to my post sculpting process. However, after going through Kurt's tutorials I discovered some of zbrush's most exciting features. The sculpt process was the most fun I've had in a long time. Kurt shows you how to work from a dynamesh and just find "the flow" of the sculpt before you focus on the specifics of anatomy. After I finished sculpting in the details I moved on to polypainting. Up to this point polypainting has been a technical nightmare, yet Kurt breaks it down in a simple and flexible way that makes the process so much more natural. He then shows you how to utilize lightcaps, which really push how your details as well as colors read on your sculpt. He finally goes over the final tweaks such as BPR filter and some fancy photoshop tricks.
Render Presentation Sheet:
Here you can see both the polypainted and base material versions of the sculpt. Overall, this final was a huge confidence boost for myself because I felt like I was really understanding zbrush. Not only did I overcome my fear of polypainting and lighting, but I also polished this sculpt to the highest fidelity. Before this, I felt like the assignments were more of "sketches," which left me yearning for an opportunity to go all out. Now that I have, I can't wait to really push my ideas and produce an entire body of work incorporating zbrush as one of the main tools in my designer arsenal.


No comments:
Post a Comment